Get a cup of coffee...this will take 12 minutes! While you're waiting this might be a good time to check dust collector bag and empty if needed.
If the bit needs to be changed:
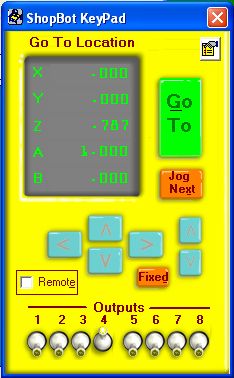
Start Keypad by typing "SK" or clicking the keypad icon in the control panel (show me)
Move X and Y axis away from corner of table by using "Up" and "Right" arrows on keypad so that bits don't hit floor if dropped (show me)
Move Z-axis up enough to change bit using "Page Up" key.
Close KeyPad by hitting ESC key.
Change bit and tighten securely
Return wrench and turn key to "Enabled"
Put dust foot at correct height and tighten thumbscrew
Raise Z-axis if necessary for clerarance with "Page Up" key
Put sheet of material on table.
Find safe spots for clamps or screws.
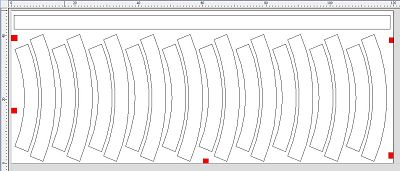
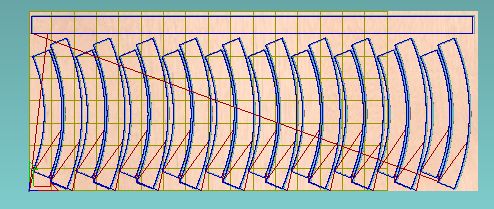
If a part layout drawing exists, open and find safe spots to clamp material to table. (show me)
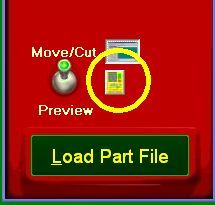
If a layout drawing doesn't exist, type "SP" to enter Preview mode and run file with "FP" command. When you're done type "SM" to go back to Cut mode. (show me)
Clamp or screw material securely to table
Test Z-zero plate by touching bit with plate and make sure that #1 input lights. Clip alligator clip to bit shank if necessary. (Watch video)
Put z-zero plate under bit and type "C2" to zero Z axis.
Start dust collector
Type "FP" and then select file to be run
Hit ENTER key until message box appears telling you to start spindle. (show me)